How I'm building a translation workflow for my self hosted Ghost blog using Google Cloud Platform's Translation API - part 1
So my grand plan for farezv.com is to be able to provide crypto, NFT, blockchain, Metaverse & general (financial) tech commentary as I navigate my software engineering career past it's 6th year and into the 7th. In order to make this as accessible as possible, I've decided to translate the blog in multiple languages, starting with Hindi and Spanish as the minimum viable translation product.
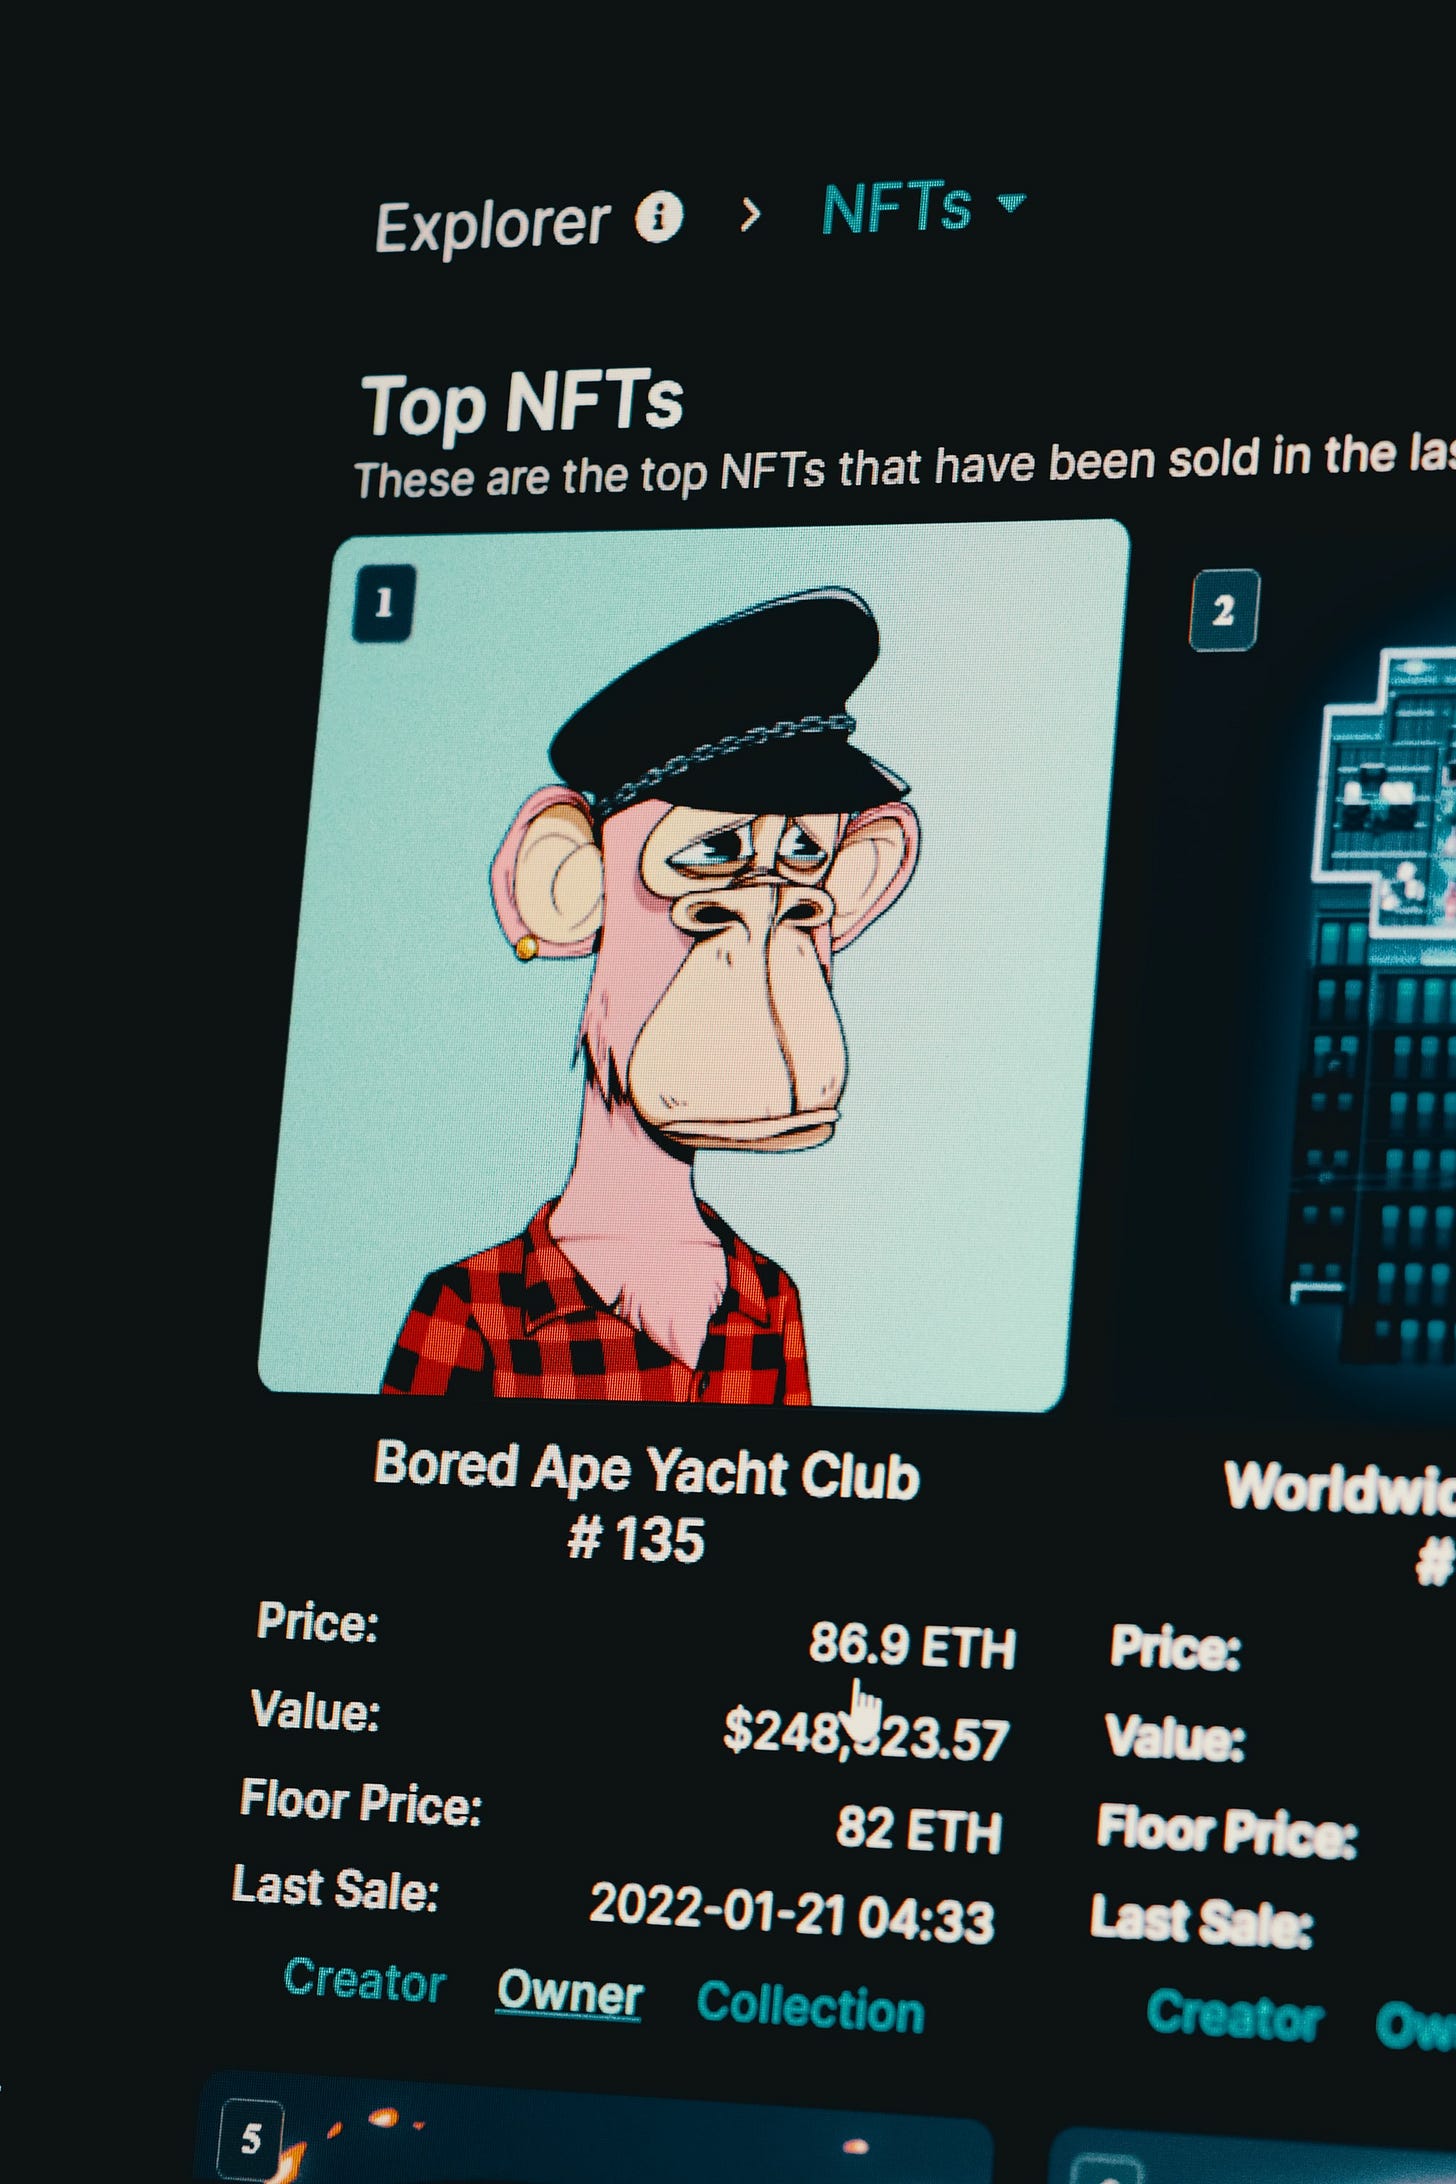
As a native speaker of Hindi and a student of Spanish (thank you Grades 10-11, Narcos & Despacito), I thought these were good starting points before I expand to other languages. Primarily as I live & work in the United States as a Canadian citizen and North America has a large Hindi and Spanish speaking population who could benefit from this monkey picture trading blockchain investing degeneracy that is my life.
Translation Options
If you're not familiar with Zapier.com, it's a fantastic automated workflow setup tool such that it can automate the following steps (amongst many others) one after the other based on event driven triggers:
Write blog post
Share blog post on social media
Translate blog post
Post translated blog post
Translate by Zapier
So our trusty automation tool has a built in translation service but it doesn't seem like it can offer a realistic solution for regular blog translations as it's limited to 1000 characters.
EasyTranslate
Then there's EasyTranslate.com which seems to be a mix of AI based and human translation services with a Freemium model that I was frankly wasn't willing to pay yet.
I'm an engineer right, let's build something! Plus I'm cheap so I'll pay for something but only once I've exhausted/evaluated all (inexpensive yet time consuming) options first.
Then again, I'm not done with the Google stuff yet and I don't know how well it will work so I may just end up using EasyTranslate or a mish mash of tools at the end. We'll see.
Enter Google Cloud
Okay brace yourselves, we're going to get technical.
My goal is to have a simple work flow as follows,
Write blog post or page in English
Share on social media
For each language I decide to expand my blog translations to, repeat steps 1 and 2 as automagically as possible.
Simple right? It should be. It's 2022, AI and robots are here. And I'm lazy.
Step 0 - Google Cloud Translation Home
Check out the Google Cloud Translation home page. I assume you don't live under a rock and have a Google account. If not, create one!
Best part is, as of right now, GCP is providing $300 in free credits without the pesky auto-billing that most subscription services enforce so you can play around with their cloud platform.
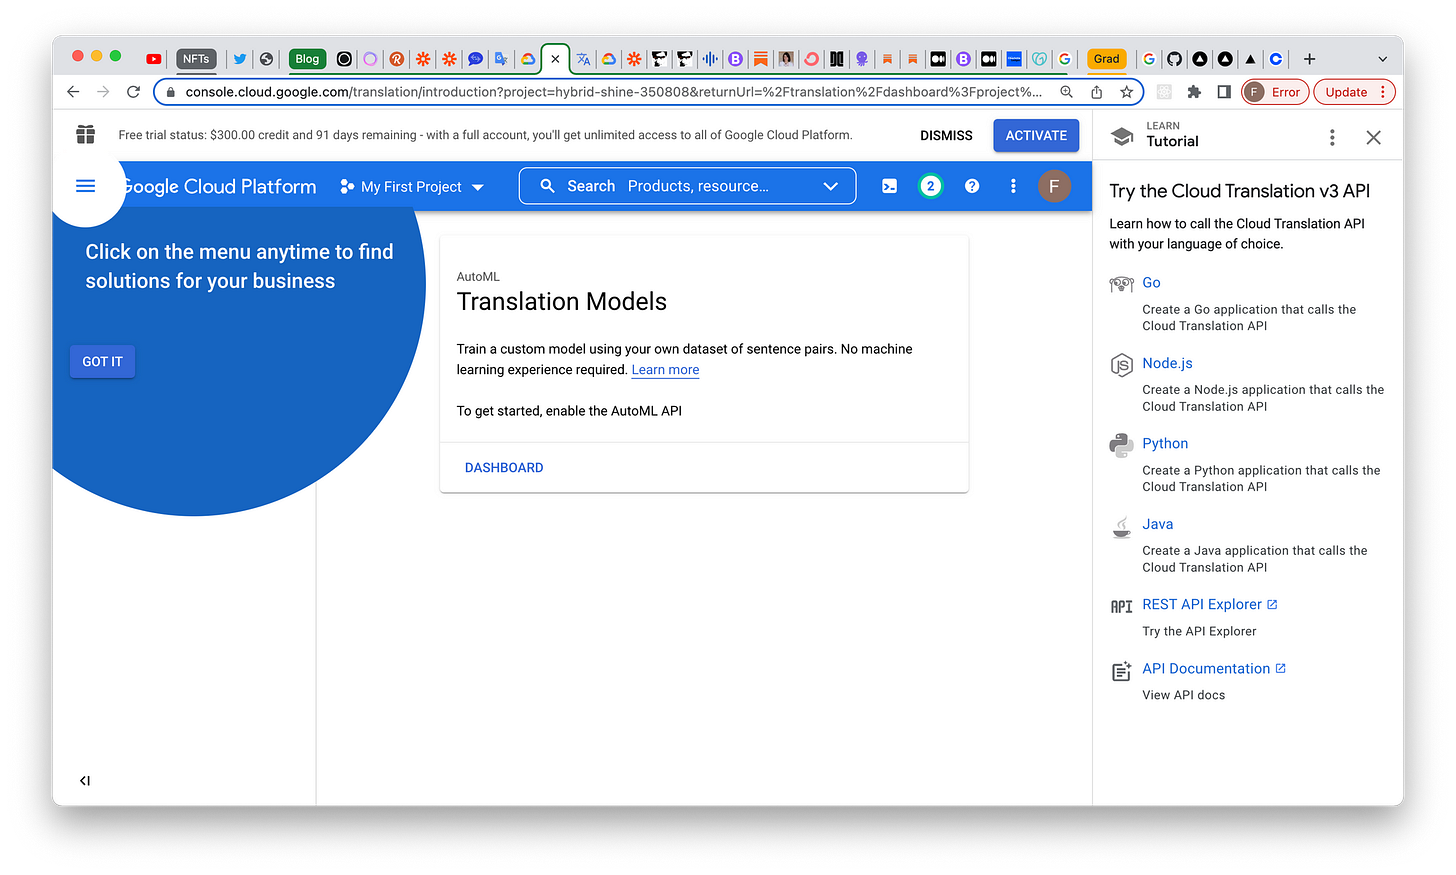
Once you're past the initial billing screens & successfully logged in, you'll see the Google Cloud Platform Console with the Cloud Translation v3 API tutorial on the right.
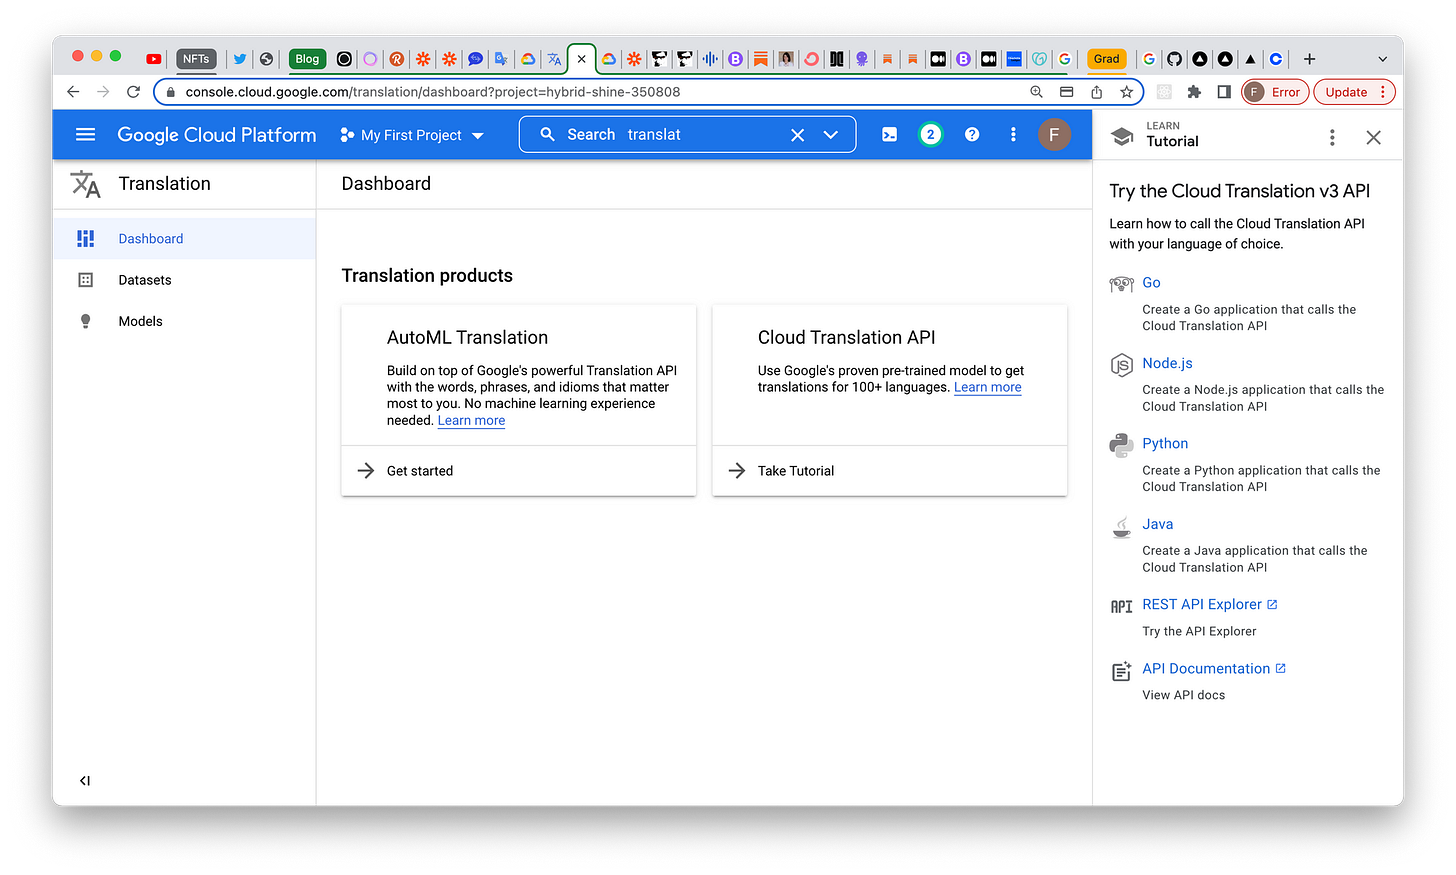
Clicking on Dashboard gets us here. Google has multiple translation products. One seems to be a custom train-it-yourself approach to language model building with AutoML Translation. Whatever that means. Nice try marketing department!
The other is the the pre-trained Cloud Translation API. We'll be focusing on the latter in this post.
I'm gonna go with Python in this example as it's less verbose than Java which is what I'm formally trained in. Also informally trained in these days with all those reactive paradigms in Java ugh. You also have Golang and NodeJS options if you prefer.
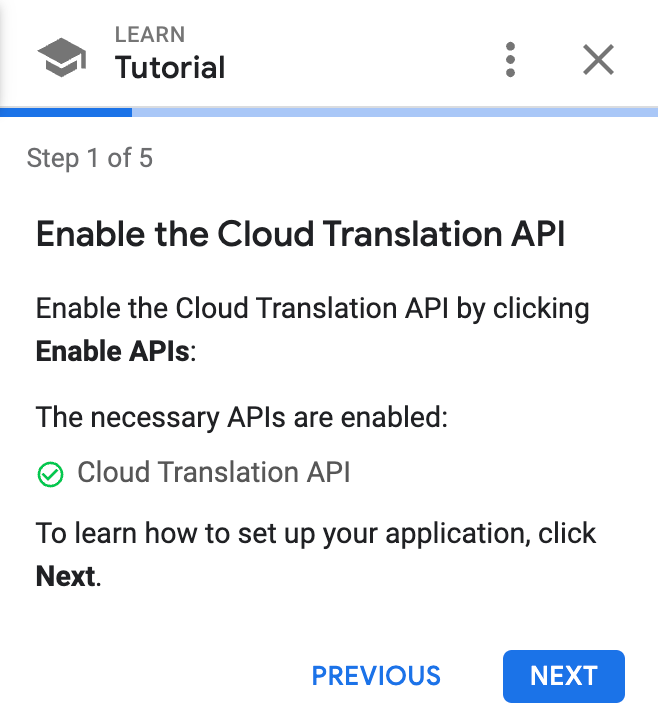
Step 2 - Enable Cloud Translation API
Create an application
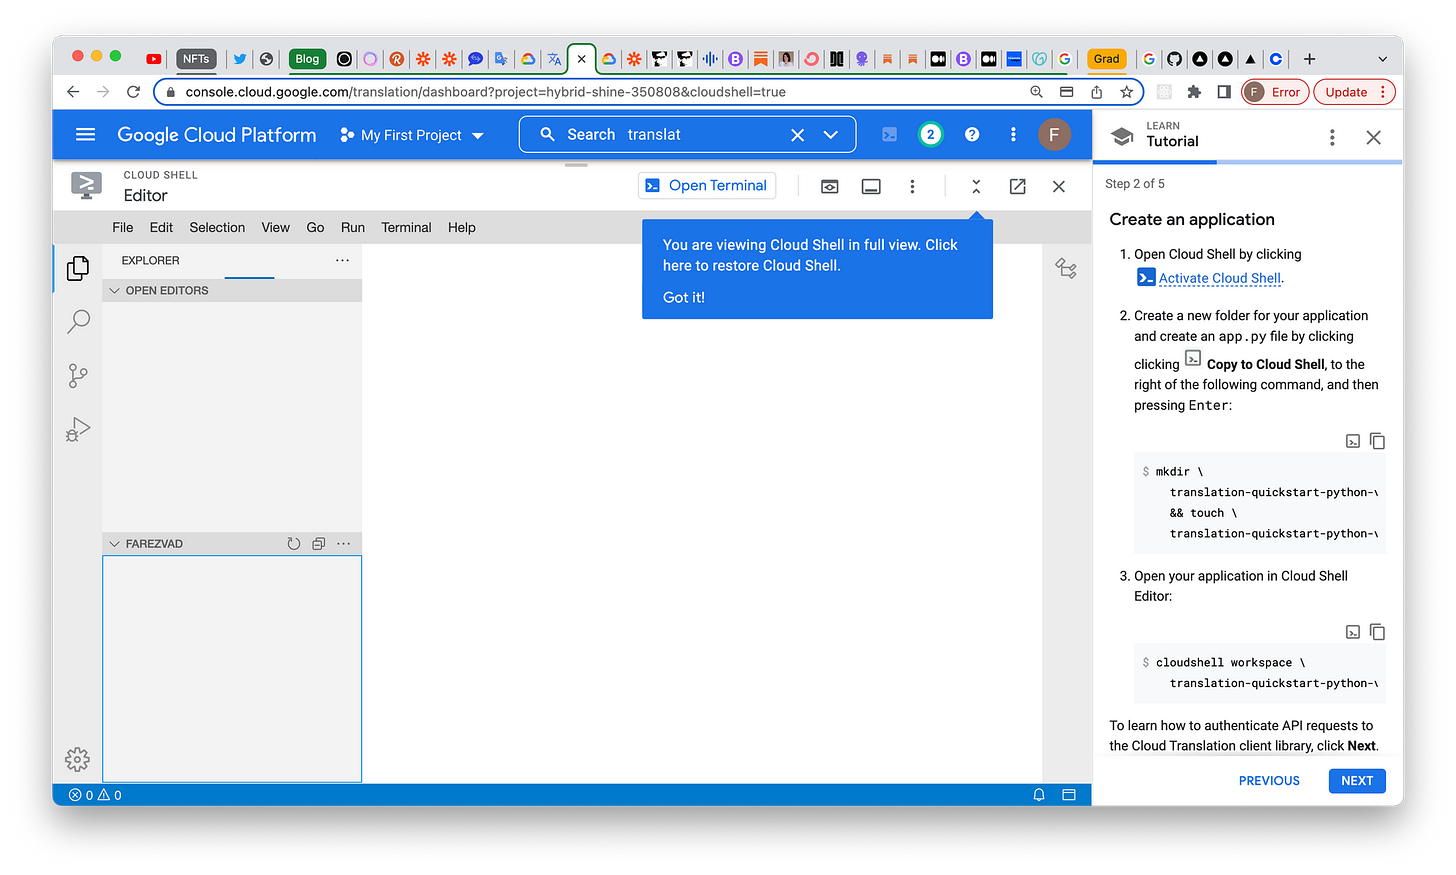
We need something to talk to the Google Cloud Translation API. That something is our Python program (or any language you prefer).
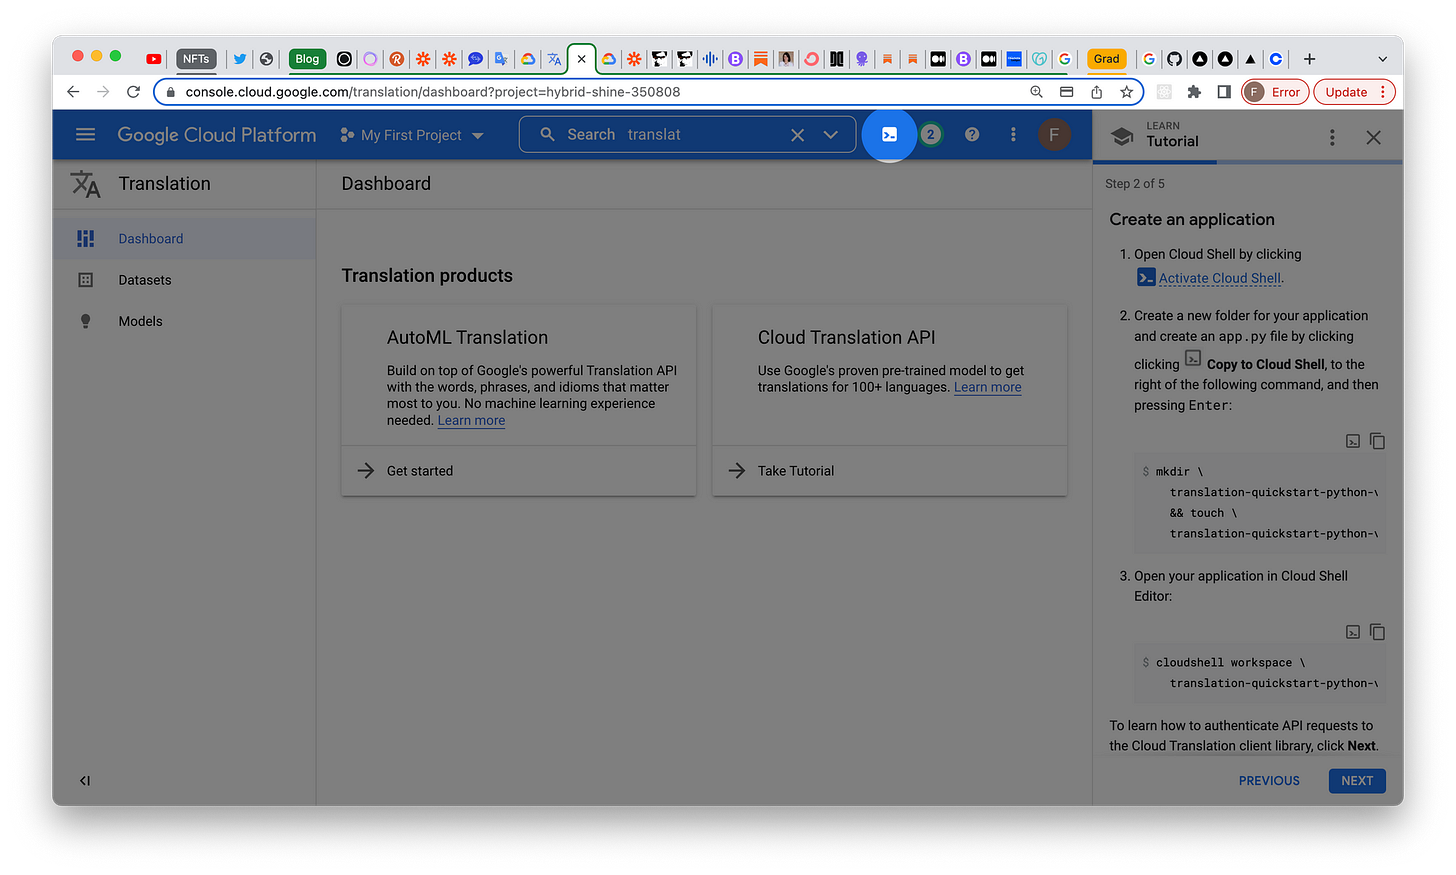
Here's what it looks like.
The cloud shell editor in full screen is cool. I had no idea we could type programs directly into web browsers now. Damn these young kids and their chai latte at your doorstep and pay for it with an NFT while dancing on TikTok engineering world.
Ignore me. I'm just an old man yelling at a Cloud shell.
Now we come to the best part of software engineering. Copy pasting from Google, literally.
Step 3 - Set up authentication
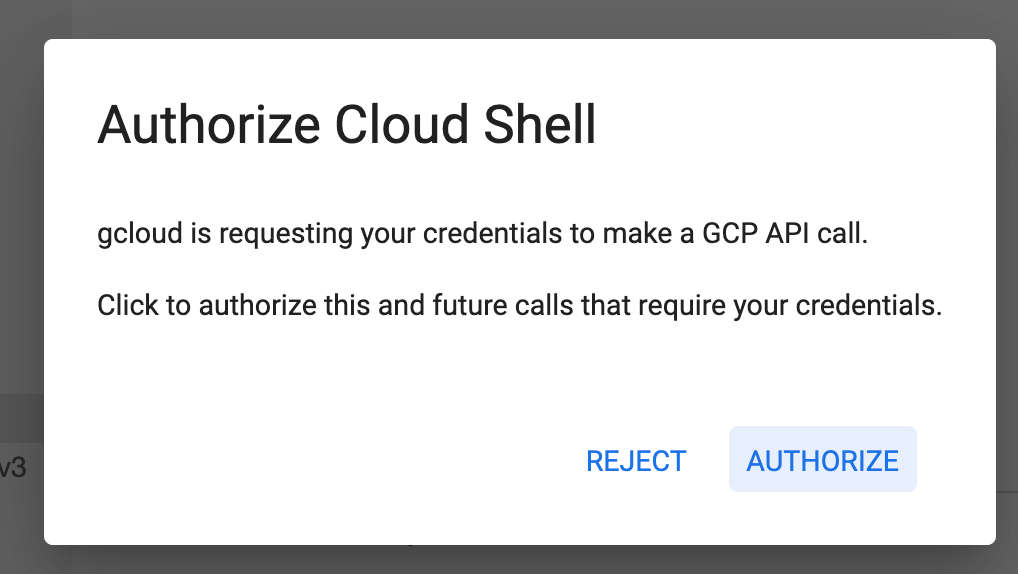
To call the Cloud Translation API, your application needs to authenticate its identity to the Cloud Translation service and obtain authorization to perform tasks.
Create a service account to authenticate your API requests:
gcloud iam service-accounts create \
    translation-quickstart \
    --project hybrid-shine-350808
You might see the following error message.
ERROR: (gcloud.iam.service-accounts.create) You do not currently have an active account selected.
Please run:

  $ gcloud auth login

to obtain new credentials.

If you have already logged in with a different account:

    $ gcloud config set account ACCOUNT
Running that last line should get you past it.
farezvad@cloudshell:~ (hybrid-shine-350808)$ gcloud config set account ACCOUNTUpdated property [core/account].
Grant your service account the Cloud Translation API User role:
gcloud projects \
    add-iam-policy-binding \
    hybrid-shine-350808 \
    --member='serviceAccount:translation-quickstart@hybrid-shine-350808.iam.gserviceaccount.com' \
    --role='roles/cloudtranslate.user'
I got this error
ERROR: (gcloud.projects.add-iam-policy-binding) Your current active account [ACCOUNT] does not have any valid credentials
If you run into issues, use gcloud auth list and gcloud config list to see which accounts are setup.
Your Gmail email login is NOT a Google Cloud Service account.
farezvad@cloudshell:~ (hybrid-shine-350808)$ gcloud iam service-accounts create translation-quickstart --project hybrid-shine-350808
Created service account [translation-quickstart].
farezvad@cloudshell:~ (hybrid-shine-350808)$
farezvad@cloudshell:~ (hybrid-shine-350808)$
farezvad@cloudshell:~ (hybrid-shine-350808)$ gcloud projects add-iam-policy-binding hybrid-shine-350808 --member='serviceAccount:translation-quickstart@hybrid-shine-350808.iam.gserviceaccount.com' --role='roles/cloudtranslate.user'
Updated IAM policy for project [hybrid-shine-350808].
bindings:
- members:
  - serviceAccount:translation-quickstart@hybrid-shine-350808.iam.gserviceaccount.com
  role: roles/cloudtranslate.user
- members:
  - user:farezvad@gmail.com
  role: roles/owner
etag: BwXfbsdsHVo=
version: 1
Create a service account key:
gcloud iam service-accounts keys \
    create key.json --iam-account \
    translation-quickstart@hybrid-shine-350808.iam.gserviceaccount.com
This should fill out your key.json file located in the project folder just on the left of the terminal. Obviously I have modified the values below so as to not expose my private keys.
{
  "type": "service_account",
  "project_id": "hybrid-shine-350808",
  "private_key_id": "some more gibberish text that I've changed",
  "private_key": "-----BEGIN PRIVATE KEY-----\GIANT FREAKING TEXT BLOB GENERATED HERE BUT DON'T SHARE THIS WITH ANYONE\n-----END PRIVATE KEY-----\n",
  "client_email": "translation-quickstart@hybrid-shine-350808.iam.gserviceaccount.com",
  "client_id": "100000000000000000001",
  "auth_uri": "https://accounts.google.com/o/oauth2/auth",
  "token_uri": "https://oauth2.googleapis.com/token",
  "auth_provider_x509_cert_url": "https://www.googleapis.com/oauth2/v1/certs",
  "client_x509_cert_url": "https://www.googleapis.com/robot/v1/metadata/x509/translation-quickstart%40hybrid-shine-350808.iam.gserviceaccount.com"
}
Set the key as your default credentials:
export \ GOOGLE_APPLICATION_CREDENTIALS=key.json
Next, we call the Translation API from our application. But first, we need to write some Python. Yaaay snakes!
Step 4 - Calling the Cloud Translation API
Install Cloud Translation Client Library
pip3 install google-cloud-translate
Open up app.py and import this package from google.cloud import translate
Final file looks like this, but you'll need to replace project_id with your project name.
GREAT SUCCESS!
farezvad@cloudshell:~ (hybrid-shine-350808)$ python3 app.py
Translated text: ¡Hola Mundo!
Check it out, now I'm all set to translate my page as follows.
I can't put the entire article text in the def translate_text(text= param of course but there is a way to translate entire documents. We'll save that for another post. Thanks for reading!


